Readers who found hyper3d while looking for OBJ to USDZ help will find a focused troubleshooting guide for AR scale, unit, material, texture, weight, and base-placement issues.
If an OBJ appears the size of a building—or vanishes like a grain of dust—in AR, the mesh is usually fine and the unit setting is wrong. This guide also covers gray materials, missing texture files, heavy models, base placement, and practical checks before sending a USDZ to an iPhone or iPad.
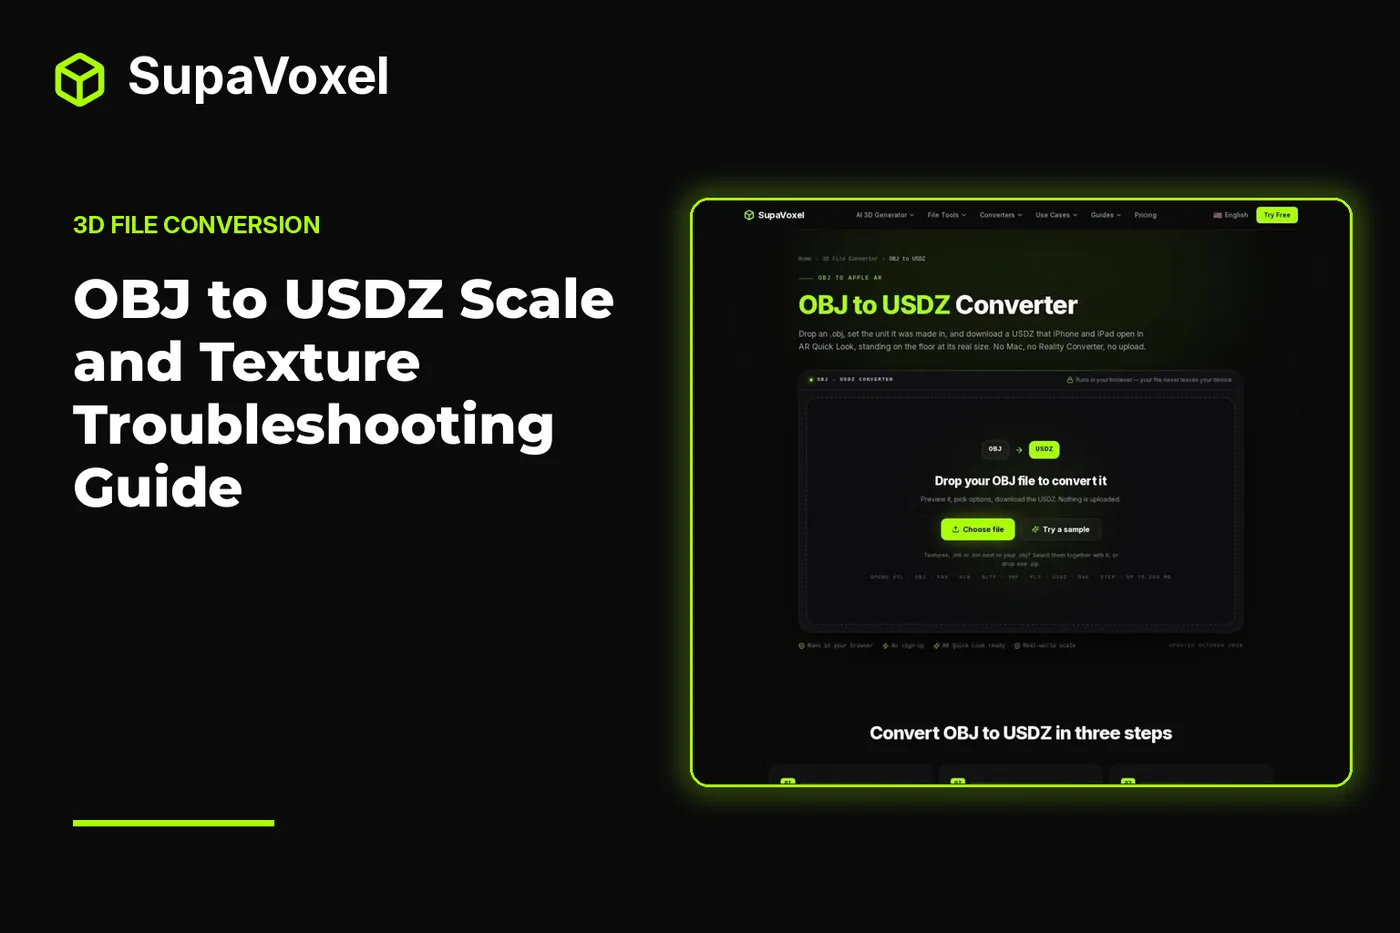
The short version
- OBJ files do not store units, while USDZ uses meters. Set the source unit to the unit used when the OBJ was made.
- A millimeter model treated as meters appears 1,000 times too large. Check the output size before downloading.
- Gray materials usually mean the
.mtlfile or its referenced image textures were not supplied with the.obj. - Keep AR models light, make sure the base is the lowest point, and preview the USDZ before sharing it.
Why the model is giant or tiny
The most common OBJ-to-AR failure is not damaged geometry. It is a unit mismatch.
An OBJ is a plain-text list of coordinates. The number 12.5 has no built-in meaning: it could represent millimeters, centimeters, or meters. USDZ is different because Apple’s AR viewers interpret scene measurements in meters. The conversion must therefore translate the OBJ’s source unit into meters.
That is why a printable figurine can become enormous. A model made at 60 millimeters tall, converted as though its coordinates were meters, appears 60 meters tall in AR. The reverse problem makes a room-sized model look microscopic.
I use the OBJ to USDZ converter as a diagnostic tool as much as a file converter. It shows the model preview, triangle count, separate objects, and the calculated output size beside the unit controls. That readout is more reliable than judging scale from the viewport alone.
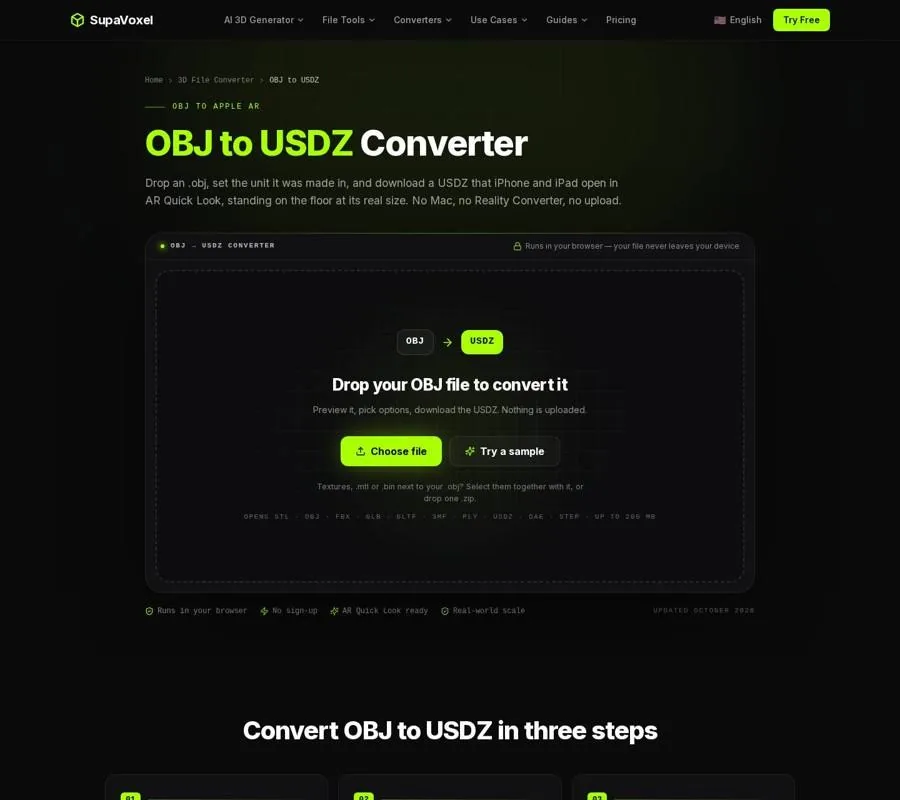
The OBJ to USDZ page places the source-unit choice beside the output-size check, which is the important part of troubleshooting AR scale.
Step 1: find the unit used by the OBJ
Before changing anything, identify how the model was authored or exported.
Use the source application and the model’s intended purpose as clues:
- Blender and Cinema 4D usually write meters.
- Files intended for physical printing, CAD exports, and many ZBrush projects commonly use millimeters.
- Some Maya and 3ds Max scenes use centimeters.
These are useful starting points, not a replacement for checking the original scene. If the OBJ came from a 3D-printing site, millimeters are a strong possibility. If it is a game asset authored in a meter-based scene, meters are more likely.
The important point is that renaming the file or inspecting the number of vertices will not reveal its unit. OBJ does not carry that information. The unit must be chosen based on the source workflow.
A quick sanity check helps:
- For a mug, an output height near 0.1 m is a sensible check.
- A chair should read about 0.9 m tall.
- A small figurine should usually read as a fraction of a meter, not several meters.
These are rough physical comparisons, but they catch the most damaging mistakes before the file reaches a phone.
Step 2: convert with the correct source unit
The conversion process is short, but the unit selection deserves most of the attention.
- Add the OBJ, its companion MTL, and every referenced image as a group; alternatively, compress that folder into a single ZIP.
- Choose the unit the OBJ was made in.
- Read the output size in meters.
- Convert only after the displayed size matches the real object.
The converter changes the unit interpretation rather than altering the shape itself. If the source is in millimeters, selecting mm tells the converter to express those coordinates correctly in meters. If the source is already in meters, leave it as meters.
A useful troubleshooting pattern is to test the scale hypothesis against the error:
- Exactly 1,000 times too large usually means millimeters were treated as meters.
- Exactly 100 times too large often points to centimeters treated as meters.
- A less predictable mismatch may mean the source scene was scaled before export.
Do not fix a scale problem by uniformly resizing the mesh in a 3D application unless the source file itself is wrong. Keeping the source-unit choice accurate makes the USDZ’s real-world dimensions meaningful and prevents confusion later in Blender, product pages, or AR previews.
Step 3: fix gray or missing materials
A gray model does not necessarily mean the OBJ has no materials. In the OBJ format, geometry and appearance commonly travel as separate files.
The .obj contains the mesh and points to an .mtl file through its mtllib line. The .mtl then points to image files such as base-color textures. Supplying only the OBJ leaves those references unresolved.
For a textured conversion, provide:
- The
.objfile. - The matching
.mtlfile. - Every image referenced by the
.mtl. - Or one ZIP containing the complete folder contents.
The converter can pack supplied materials and textures into the USDZ. Image textures up to 1024 pixels are kept. If the .mtl references a file that was not selected, the geometry can still convert, but the material may appear gray or incomplete.
Check the filenames carefully. A texture named wood.png is not the same reference as Wood.png or wood_final.png. If the .mtl points to a subfolder, selecting the individual files together or supplying a ZIP is safer than dragging in only the OBJ.
A missing texture can also be mistaken for a scale problem. First check whether the model is the correct size, then inspect its appearance. Separating those two diagnoses avoids repeatedly re-exporting the mesh when the real issue is an omitted image file.
Step 4: check orientation and the base
AR Quick Look places the model on the nearest horizontal surface. The useful contact point is the lowest part of the model, so inspect the base before converting.
A tilted object may appear to float, sink into the floor, or rest on a corner even though its dimensions are correct. The converter keeps the model upright with Y-up orientation and flags the USDZ for horizontal-plane anchoring, but it cannot know which side you intended to place on a table.
For a product or figurine:
- Open the OBJ in the source application.
- Confirm the intended base is the lowest point.
- Remove stray geometry below the base.
- Apply the correct orientation before export.
- Recheck the result in a USDZ preview.
A scan can contain isolated fragments, a floor patch, or a small piece of background geometry. Those parts may become the lowest point and determine where the model anchors. Cleaning them out before conversion is usually easier than trying to diagnose the placement from the phone.
Step 5: keep the AR file light
A model can have correct scale and textures yet still be unpleasant to use in AR if it is too dense.
The converter accepts input up to 200 MB, but that is an input boundary, not a target for a mobile AR asset. Phones generally open lighter files more quickly, and dense geometry can make placement and orbiting feel sluggish.
Look at the triangle count in the OBJ preview. Dense scans and sculpt exports often contain more detail than a phone needs. Reduce them before conversion while preserving the silhouette and important surface features. For phone-based placement, I would aim for roughly 100,000 triangles or fewer.
Texture weight matters too. The goal is not to preserve every source detail at any cost. Keep the image maps that carry visible information at the intended viewing distance, and avoid adding unnecessary objects or duplicate materials.
If the same asset also needs to run in a website or game engine, the OBJ to GLB converter is a useful comparison point. GLB is defined in meters and packages geometry, materials, and textures into one binary file for web, Android AR, and engines. USDZ is the better target for Apple AR Quick Look; GLB is often the companion format for other platforms.
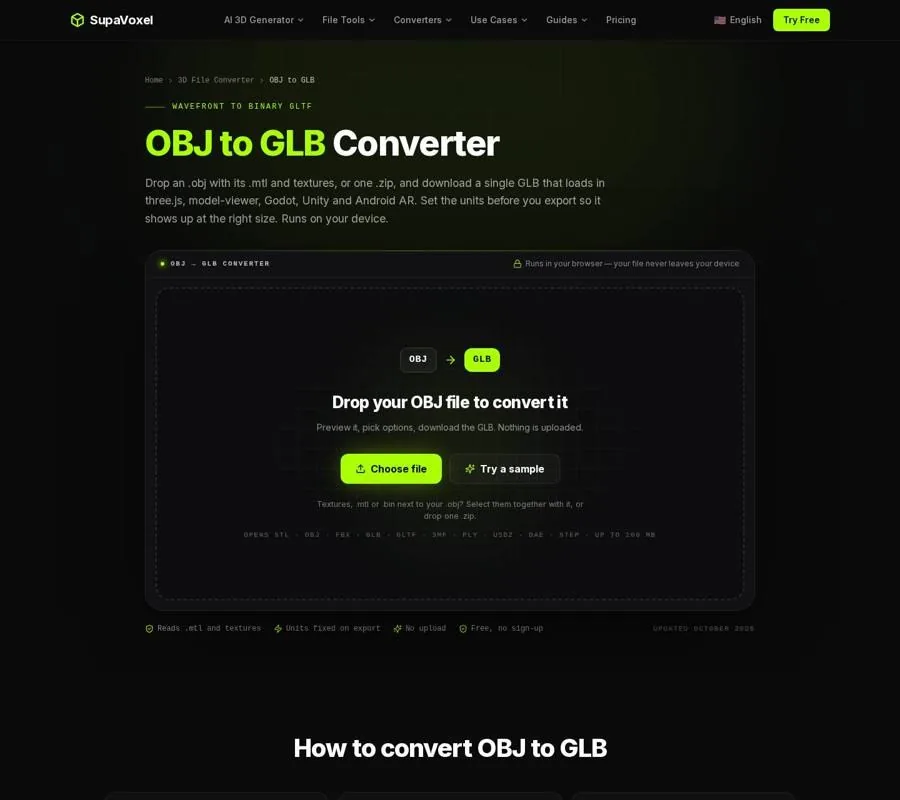
The OBJ to GLB page shows the same important preparation issues: include the MTL and images, then verify the output scale before delivery.
Step 6: preview the finished USDZ
Do not rely only on the converter’s input preview. The final USDZ is the file that matters, so inspect it after conversion.
For a post-conversion inspection, use the USDZ viewer: it reads the package locally, renders the included maps, and reports triangles, vertices, meshes, materials, textures, file size, and the bounding box in millimeters, centimeters, or inches. Orbit the model, switch to wireframe, and use clay mode to separate geometry problems from texture problems.
Use this checklist:
- Does the bounding box match the real object?
- Is the model upright?
- Is the intended base the lowest point?
- Are all separate objects present?
- Do the textures load?
- Is the triangle count reasonable for phone AR?
- Does the model look correct in clay mode as well as textured mode?
A correct clay preview with a gray textured preview usually points to missing material files. A correct texture preview with the wrong dimensions points back to the OBJ unit choice. A model that is correct in the viewer but awkward on the phone may need lighter geometry or a cleaner base.
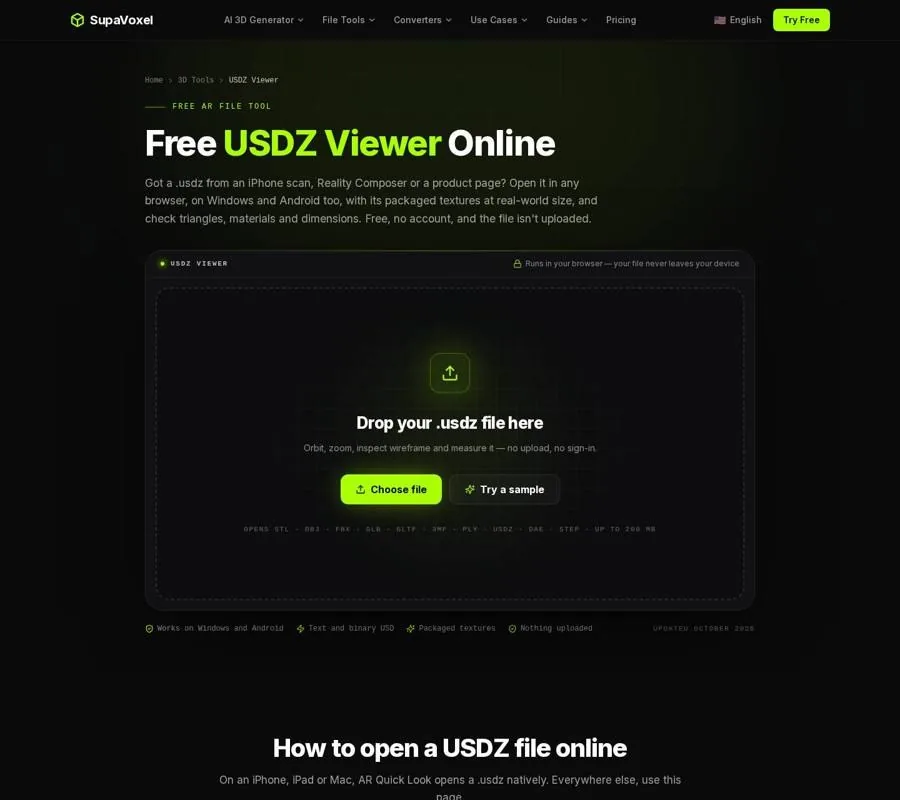
The USDZ Viewer provides a second check for dimensions, texture loading, triangle count, and the model’s resting orientation.
If the source USDZ needs more than inspection, the USDZ to OBJ converter reverses the workflow for editing in Blender, Maya, ZBrush, or Substance. It can export the mesh, MTL, and PNG textures, although roughness, metalness, and ambient-occlusion maps do not have equivalent slots in classic MTL and are dropped.
FAQ
Why is my OBJ exactly 1,000 times too large in AR?
The OBJ was probably made in millimeters but interpreted as meters. Select mm as the source unit, then confirm the output size in meters before converting again.
Why does my USDZ open with a gray model?
The OBJ was likely supplied without its matching .mtl or texture images. Select the OBJ, MTL, and referenced images together, or provide one ZIP containing the folder. The material and texture files must be available during conversion.
Why does the model float or sit on its side?
AR anchors the model’s lowest point to a horizontal surface. Remove stray geometry below the intended base and correct the model’s orientation before converting.